We know our kids are dealing with a lot of changes as schools and therapy clinics transition to distance learning and telehealth models. One thing that may be overlooked is their access to therapeutic equipment that they were using in the classroom or clinic. Here are a few ways to recreate common OT tools using items found around the house.
Slant Board: A slate board is a great tool to use during writing activities. The angled surface extends the wrist and provides support to place the hand in a functional writing position. It also helps keep the trunk in an upright position by bringing the writing surface closer for kids who tend to lean towards the table while writing.
All you need is a 3-inch or 4-inch binder, a clipboard, and something to attach the two together (tape, hot glue, or a Velcro strip)! Attach the top of the clipboard to the elevated side of the binder and you now have a DIY slant board. The clip will help hold the paper for kids who are still working on their bilateral coordination.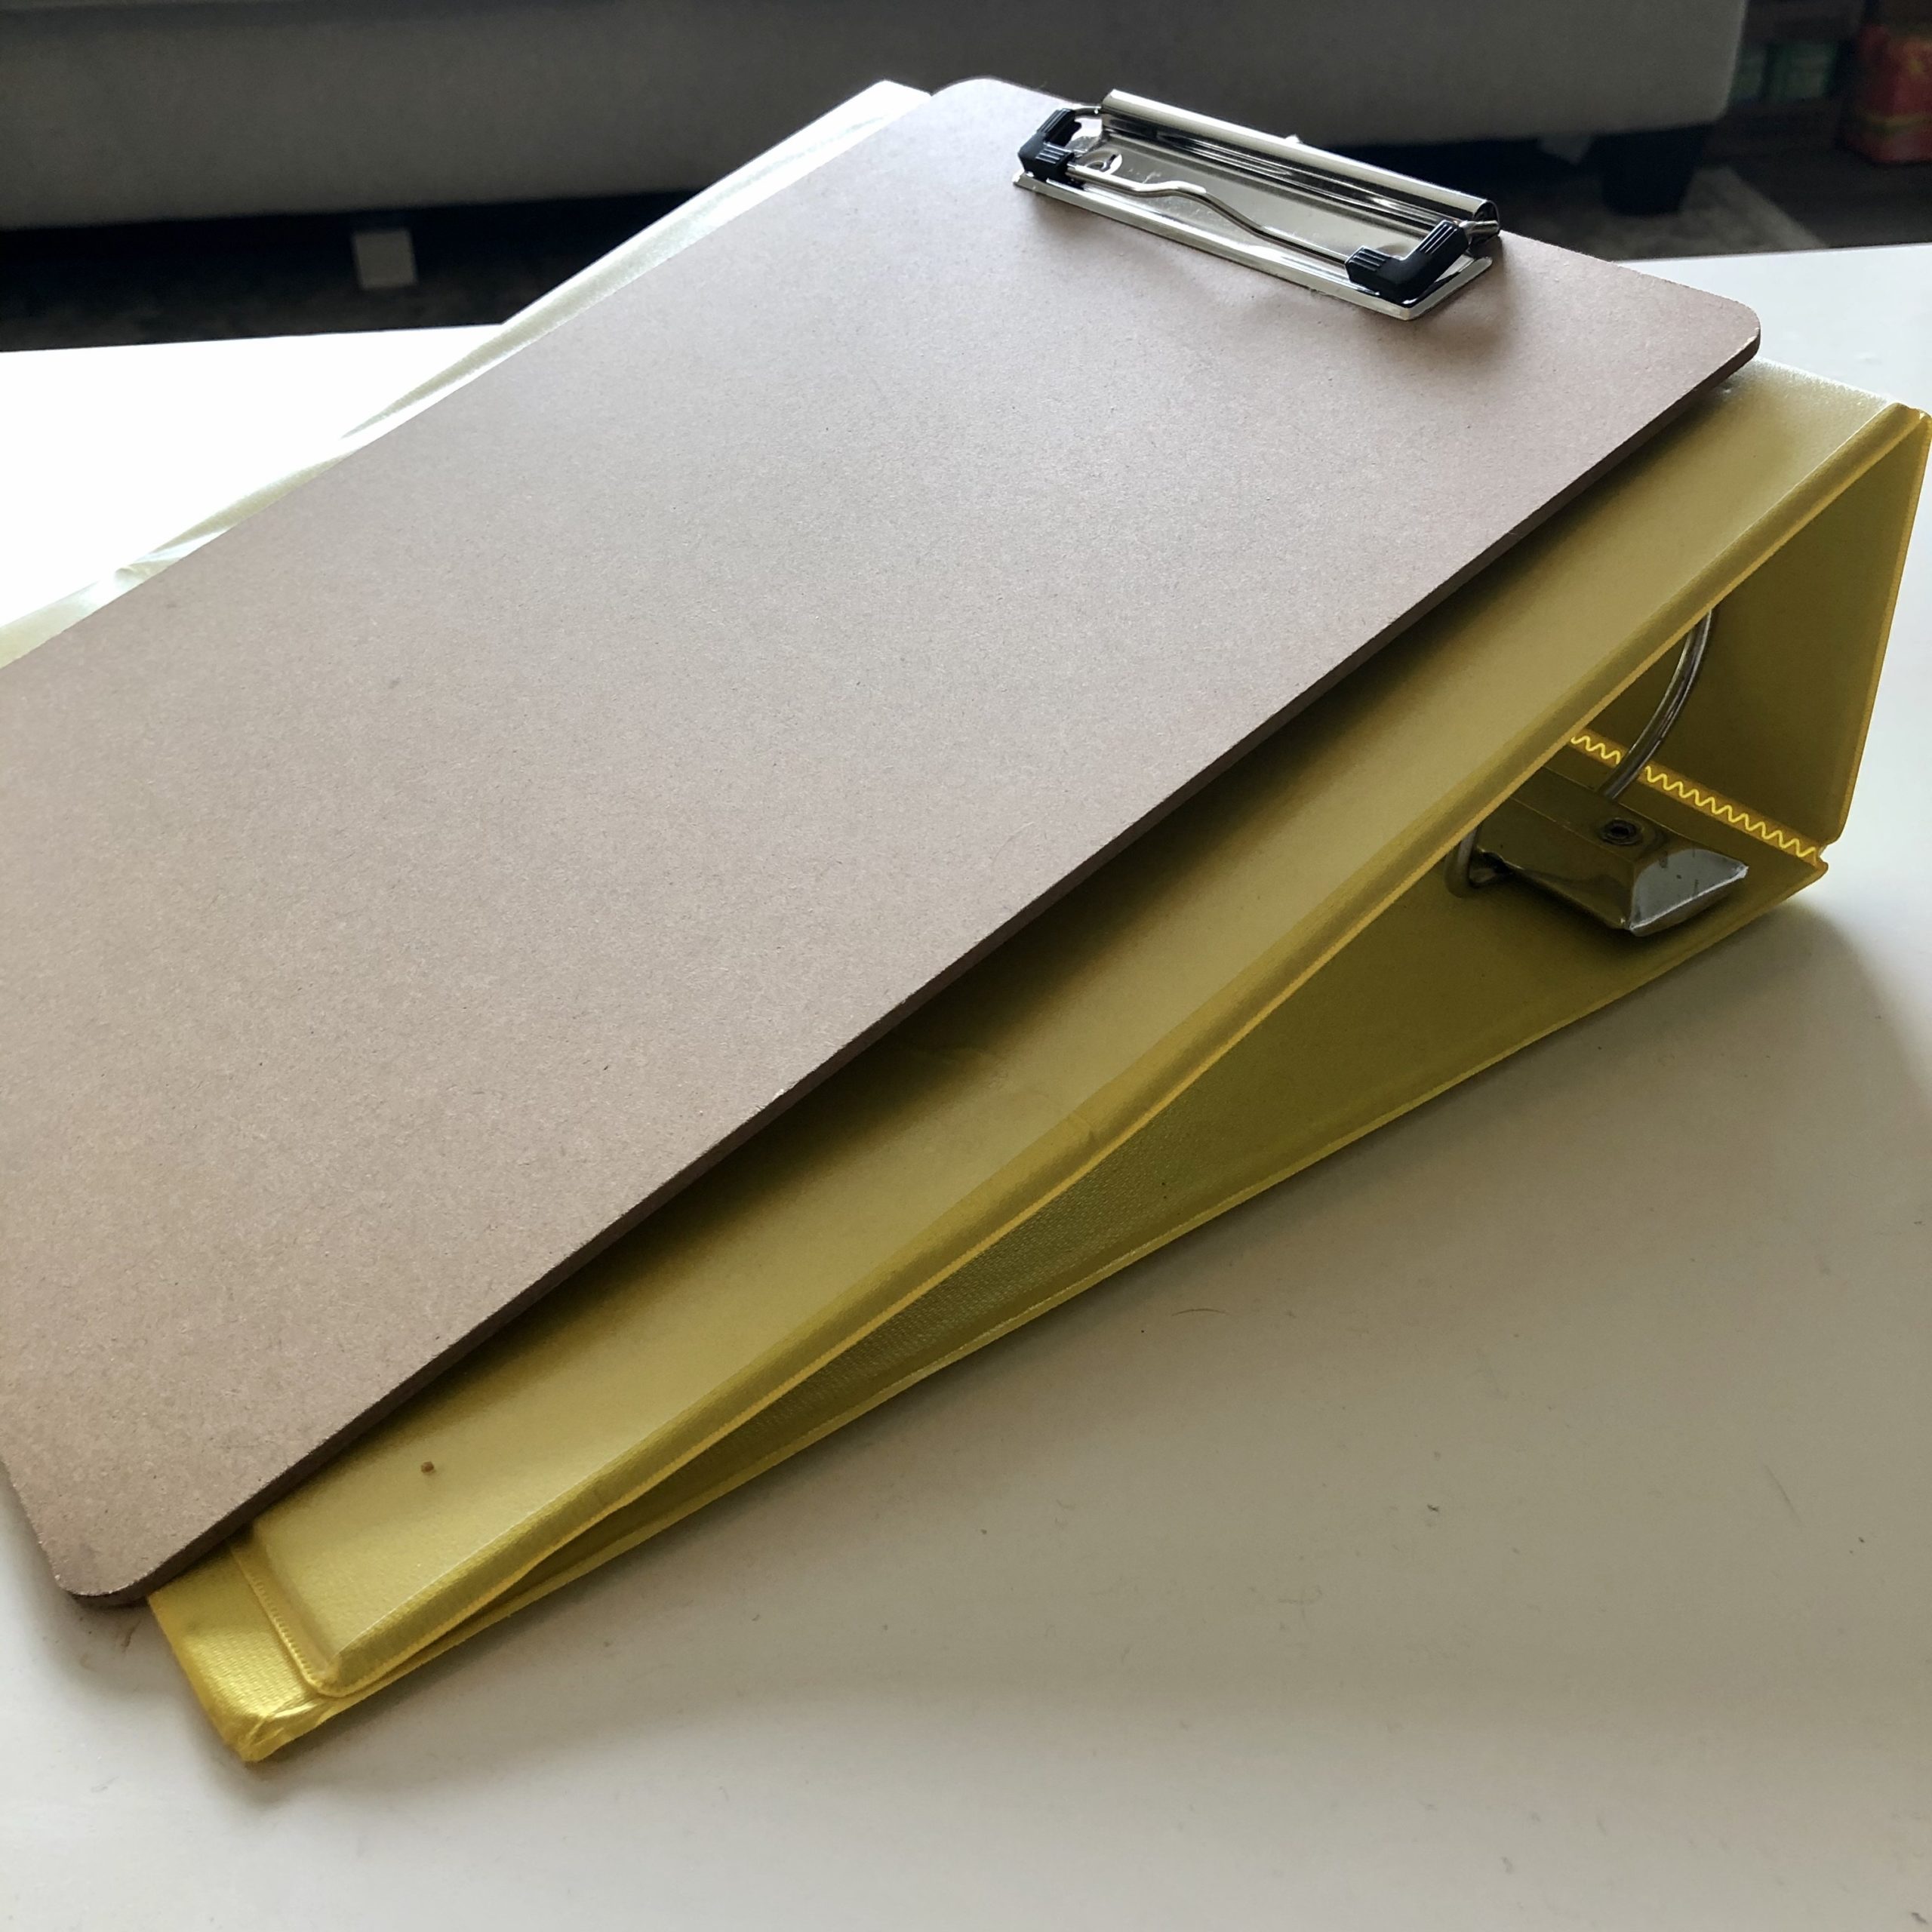
Wiggle Seat/ Wobble Cushion: Sitting on a sensory cushion is a simple way to provide just enough unstable vestibular input to improve focus and attention during tabletop activities. The slight movement allows a child to fidget and move while continuing with writing or reading tasks.
To recreate this OT tool, look for an old beach ball that may be hiding somewhere at home. Slightly fill the beach ball with enough air to provide a bit of a bounce or wiggle while your child is sitting on it. You can also place it on the floor to provide some input through their feet. Just be careful not to over inflate it as it may pop when sat on.
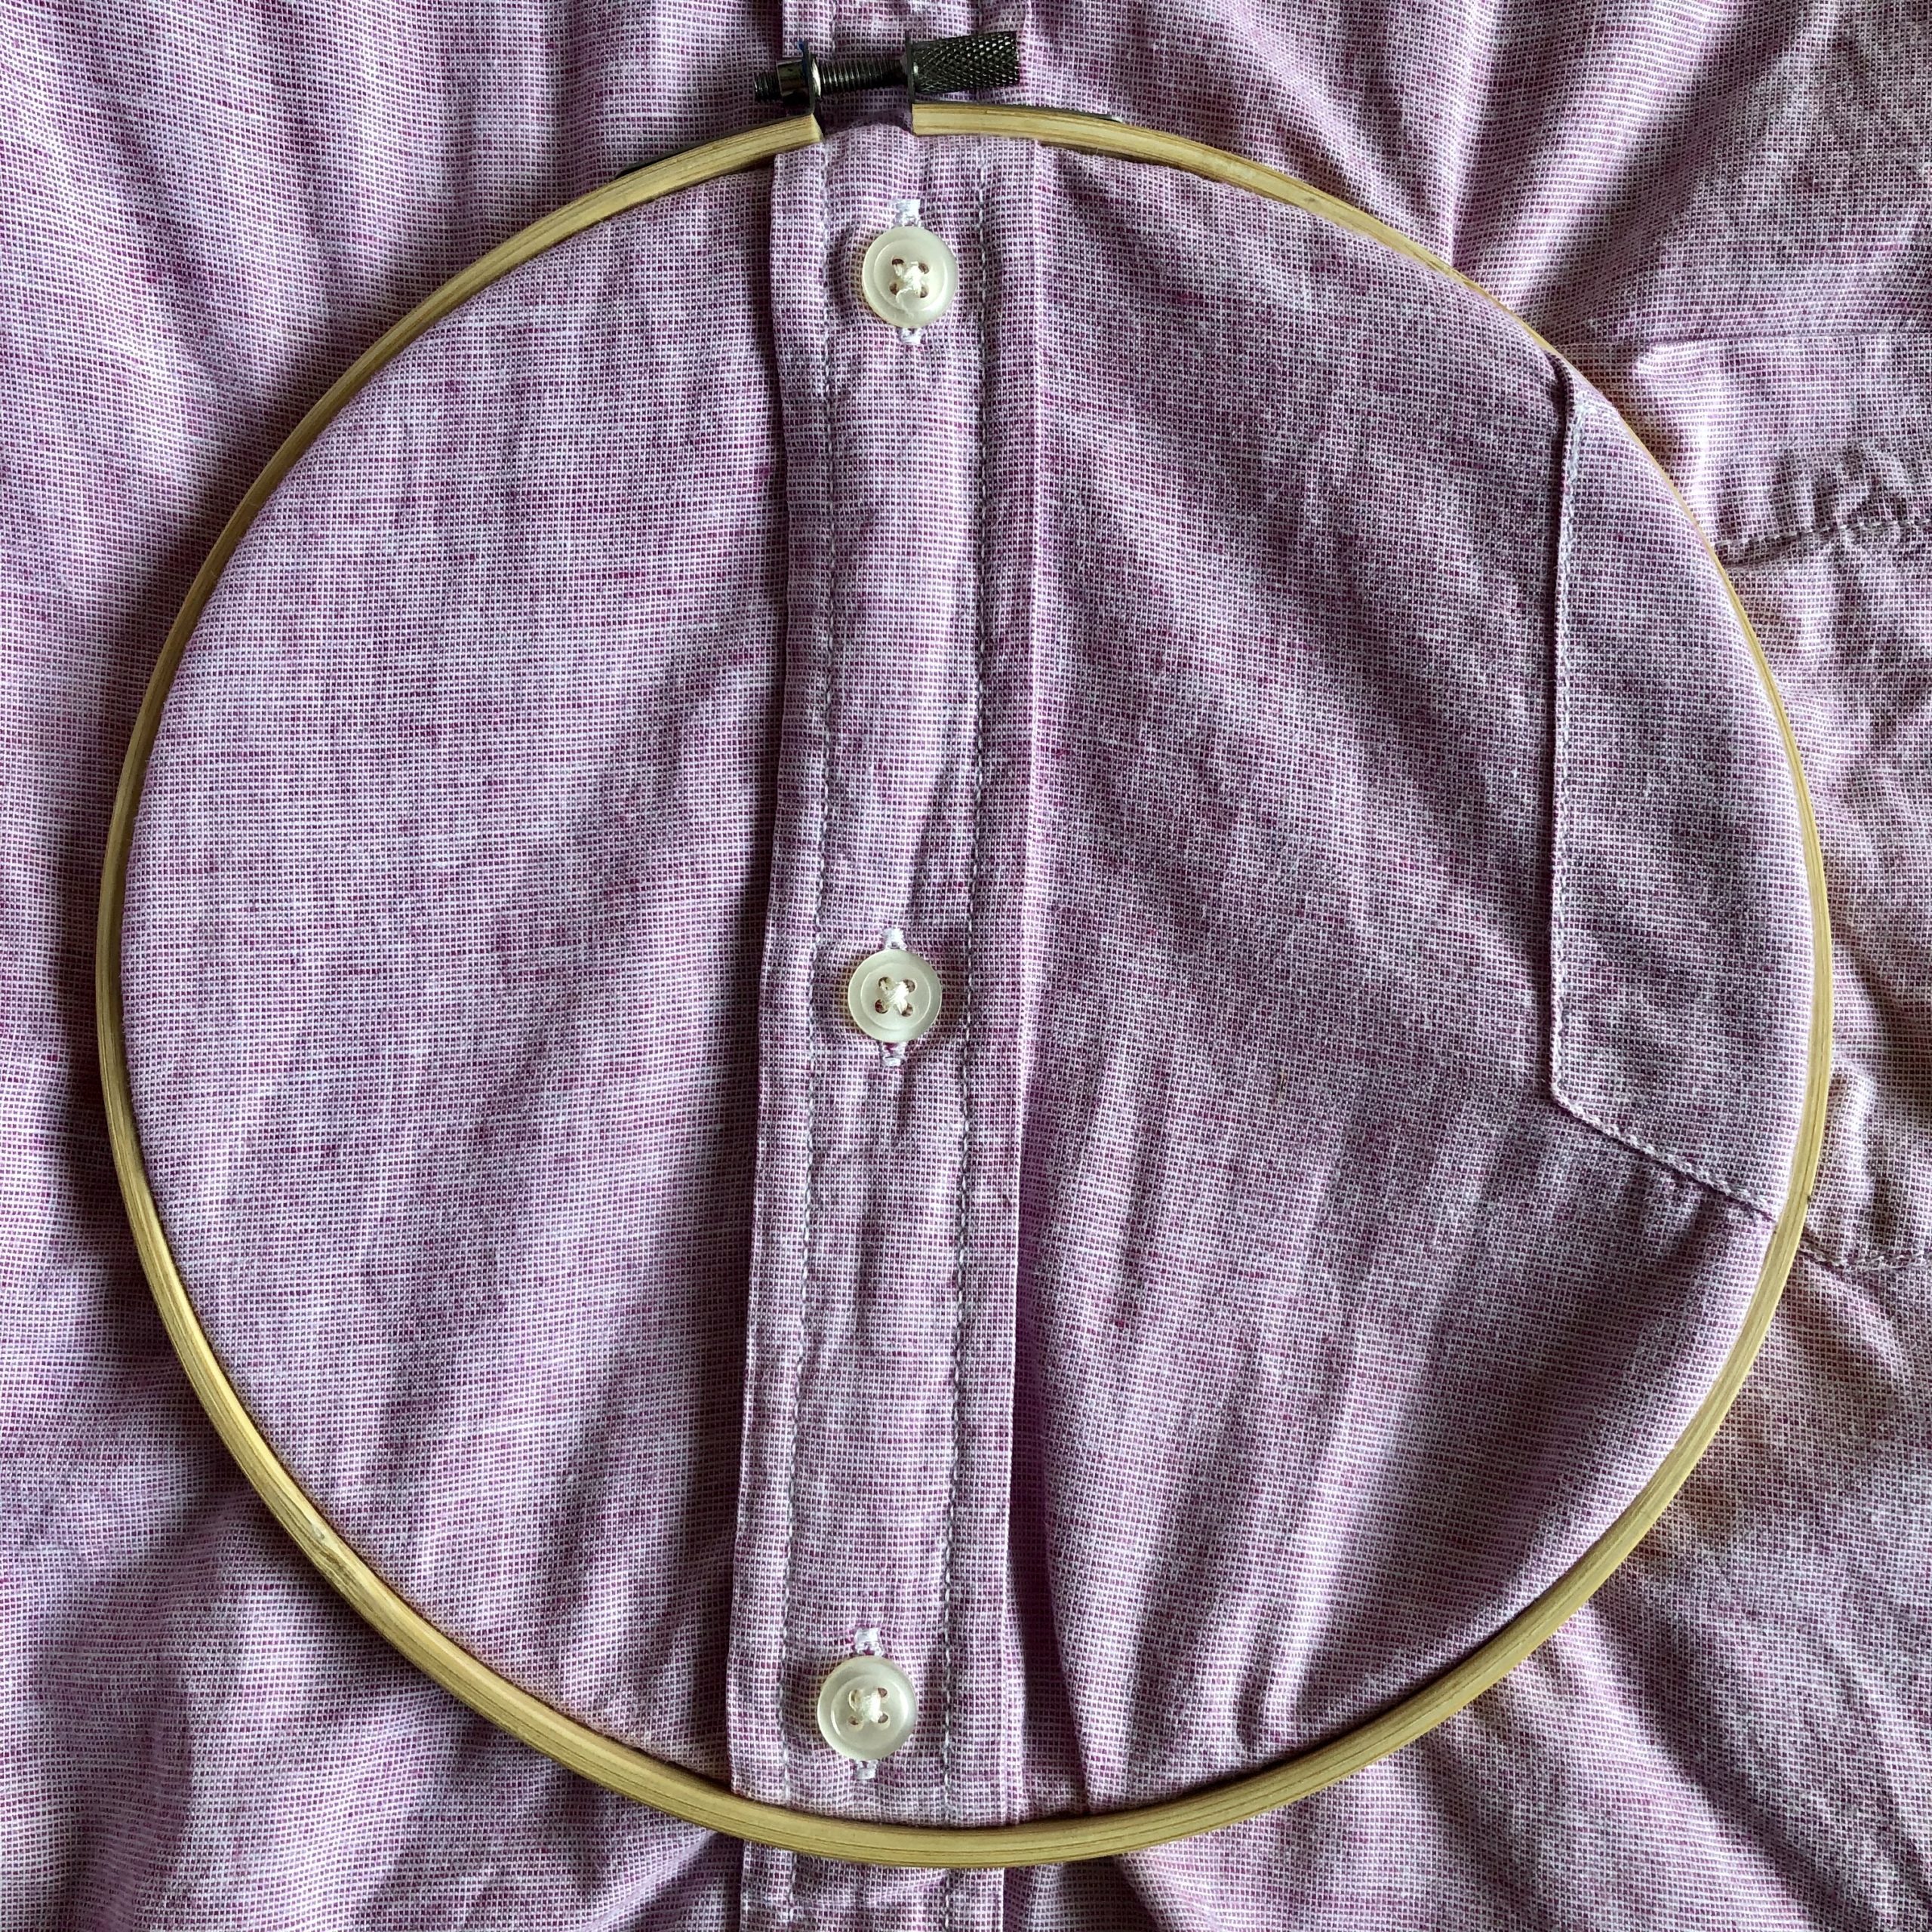
Dressing Board: A dressing board is a playful way to practice self-dressing skills without the stress of buttoning, zipping, and tying fast enough when getting dressed. Dressing boards can also focus on fine motor skills like bilateral coordination, pincer grasp, and object manipulation.
To make one at home, you’ll need a sewing hoop/embroidery hoop and old shirts/pants with buttons, zippers, and ties. Loosen the hoop and separate the two pieces: larger outer piece and smaller inner piece. Place the piece of clothing on top of the smaller inner piece and place the larger outer piece onto the first piece with the clothing now in between the two pieces. Reconnect the two pieces to secure the clothing into place. You can also cut off the excess fabric.